The Instagram platform is constantly evolving and people are coming up with more creative ways of using the tools that are available. One of those tools is the post carousel.
Simply explained – you have a maximum of ten images that you can add to each post. And there is no gap between them. In addition, you can also add video. The only limitation is that they all have to be of the same format. It is a powerful tool if you use it the right way!
Speed things up
I have now been Adobe free for more than a year and I love it. For RAW conversion, I use Capture One, and for photo editing I use Affinity Photo.
To be able to work as easy and efficient as possible creating Instagram carousels, I created some templates for Affinity Photo. Click on the button below to download them for free.
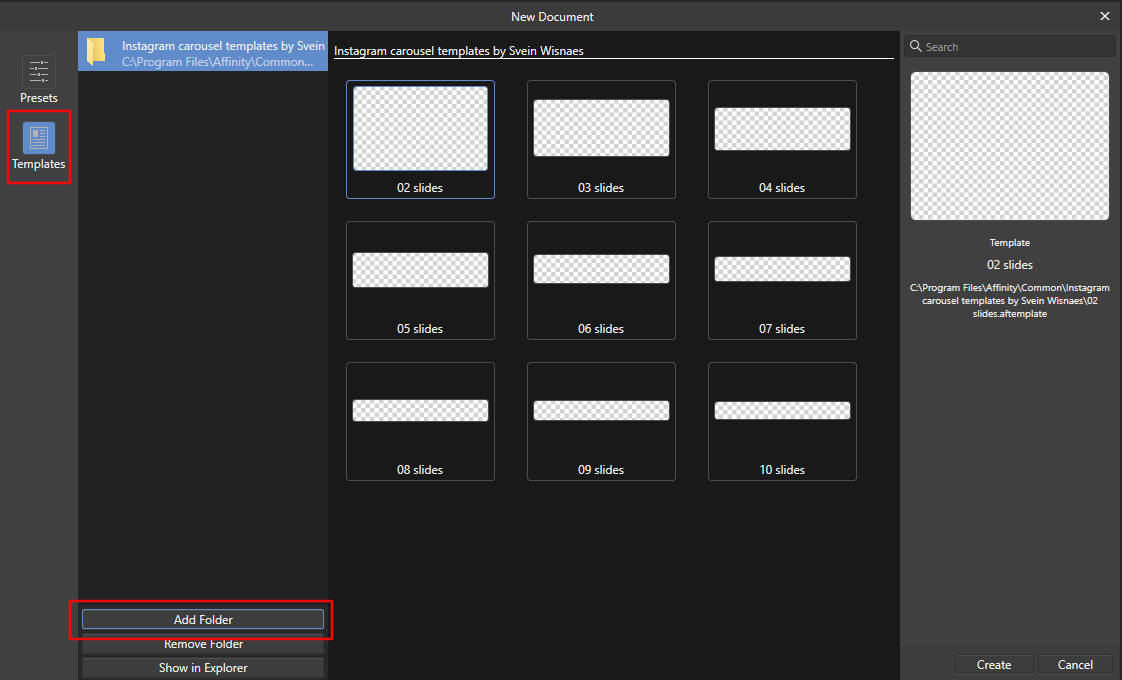
After you have downloaded the file, unzip it and place the folder somewhere on your computer where you keep design resources. Then open Affinity Photo, choose File>New, and then click on the Template icon. Here you have to choose Add Folder and pick the folder you just saved on your computer.

You will then be able to choose between nine templates. From two slides to ten slides. If you are not sure about how many slides you will need, pick the one with ten slides.
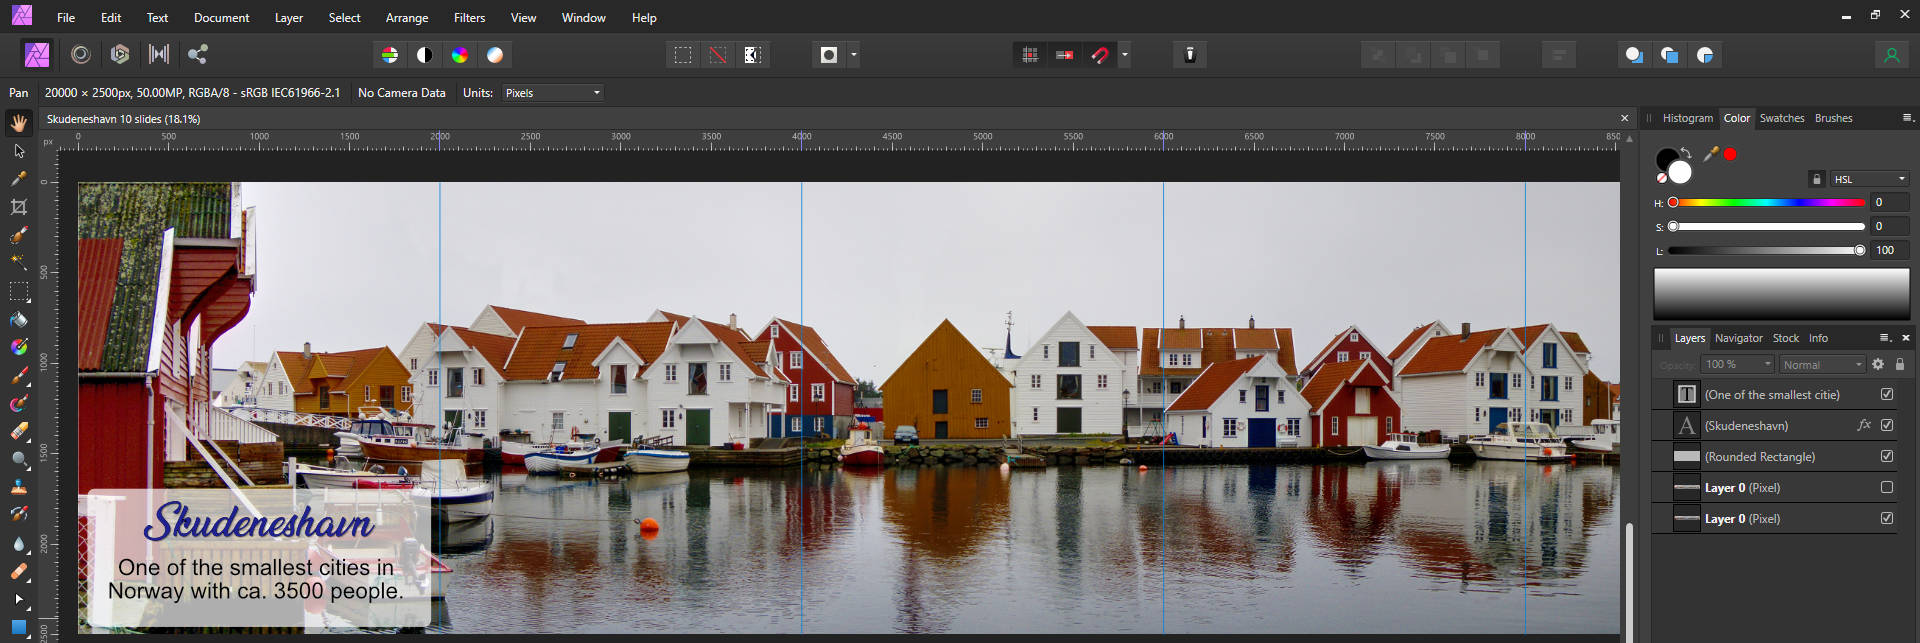
Then it is time to do your best to design a creative slideshow. It can be as simple as a panorama, or a more complex design.

I have set it up so that each slide is 2000 x 2500 pixels and there is a guideline for each slide. These lines will not show in your exported images.
UPDATE
I have added two horizontal lines so that you will know what will be inside the square thumbnails in the Instagram grid mode. If you don’t want the there, just go to View>Guides Manager and trash the two horizontal guides.
The slides will each be a 4 x 5 portrait format which is the maximum you can have on Instagram. It is also the format that shows up best on mobile phones. The resolution is higher than you might find in other recommendations, but I have used it for a long time and it gives me really good quality. Feel free to check my instagram feed on https://www.instagram.com/sveinwisnaes/ .
You will also notice that DPI has been set to 300. This is because DPI does not matter. Ever. But that is a discussion for another blogpost. It should actually be PPI and that matters if you are going to print on paper.

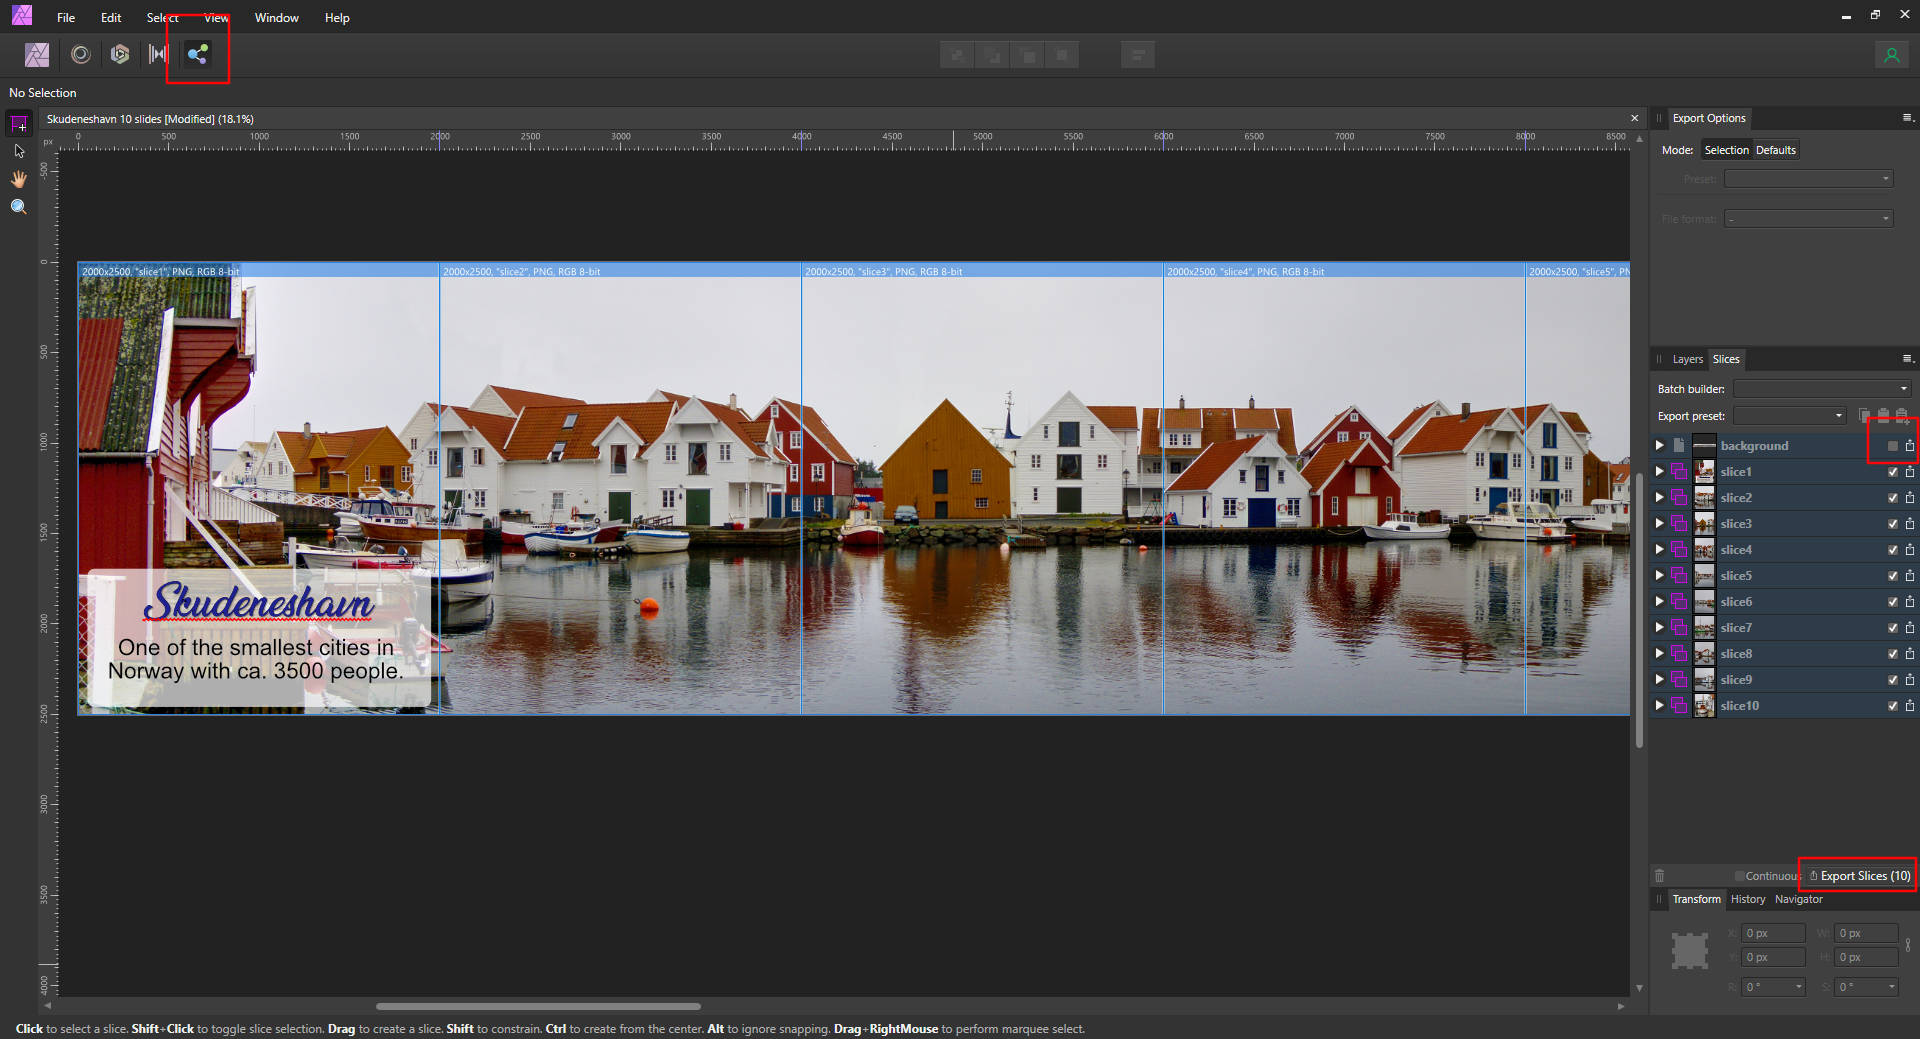
When you are done creating the slides, it is time to export your masterpiece. Click on the icon for the Export Persona at the top of Affinity Photo. Instead of your layers list, you will now see that I have created slices for each slide. In that list, you can uncheck the background slice if it is checked. You do not need to export that.
The quality for each slide has been set to JPEG-Best Quality as Instagram will resample it. So I just want to make sure the starting point is as good as possible.
Now is the time to click on Export slices and choose a folder to export them to.
When uploading these images to your Instagram post, make sure you upload them in the order they have been exported. Slice1, Slice2, Slice3 etc.
I have to thank Olivio Sarikas for his YouTube channel with all his tutorials and the people in his Facebook group. Wonderful people that are willing to help and guide you. This is real sharing!
